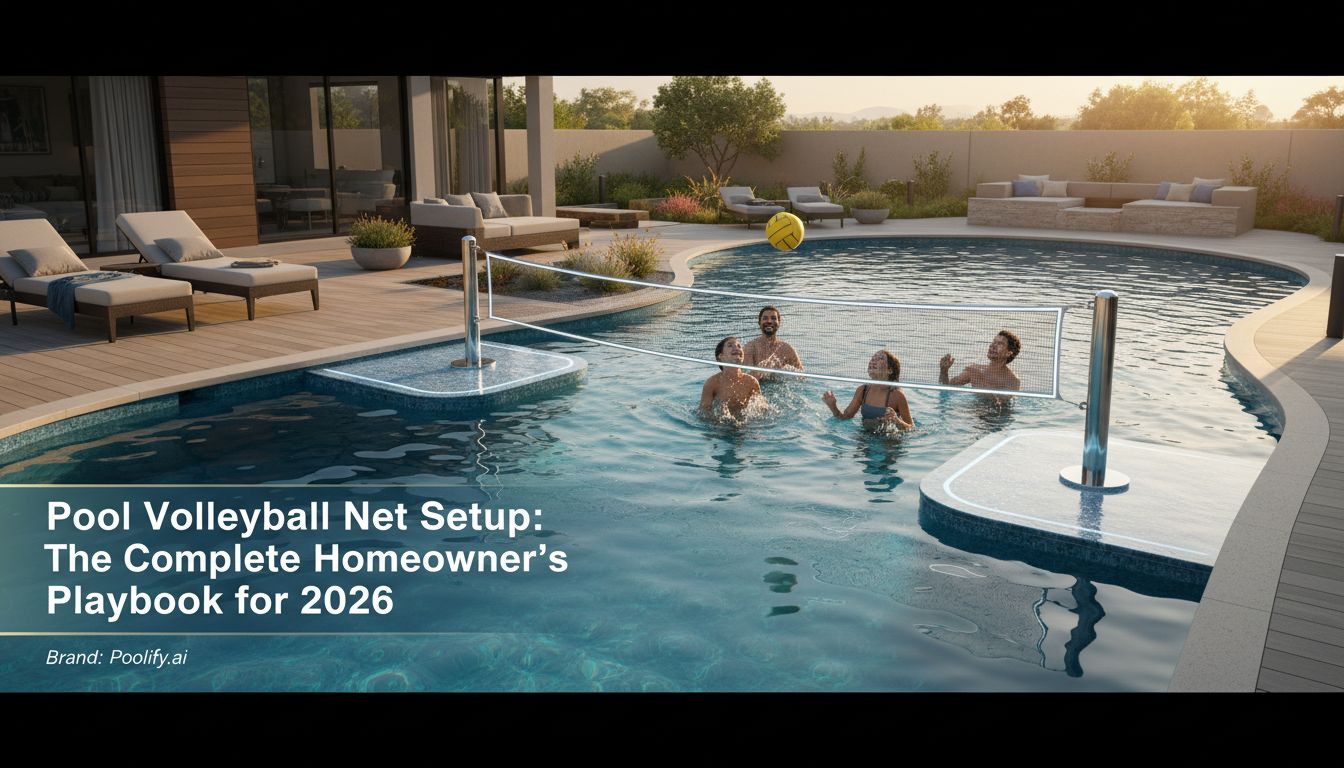
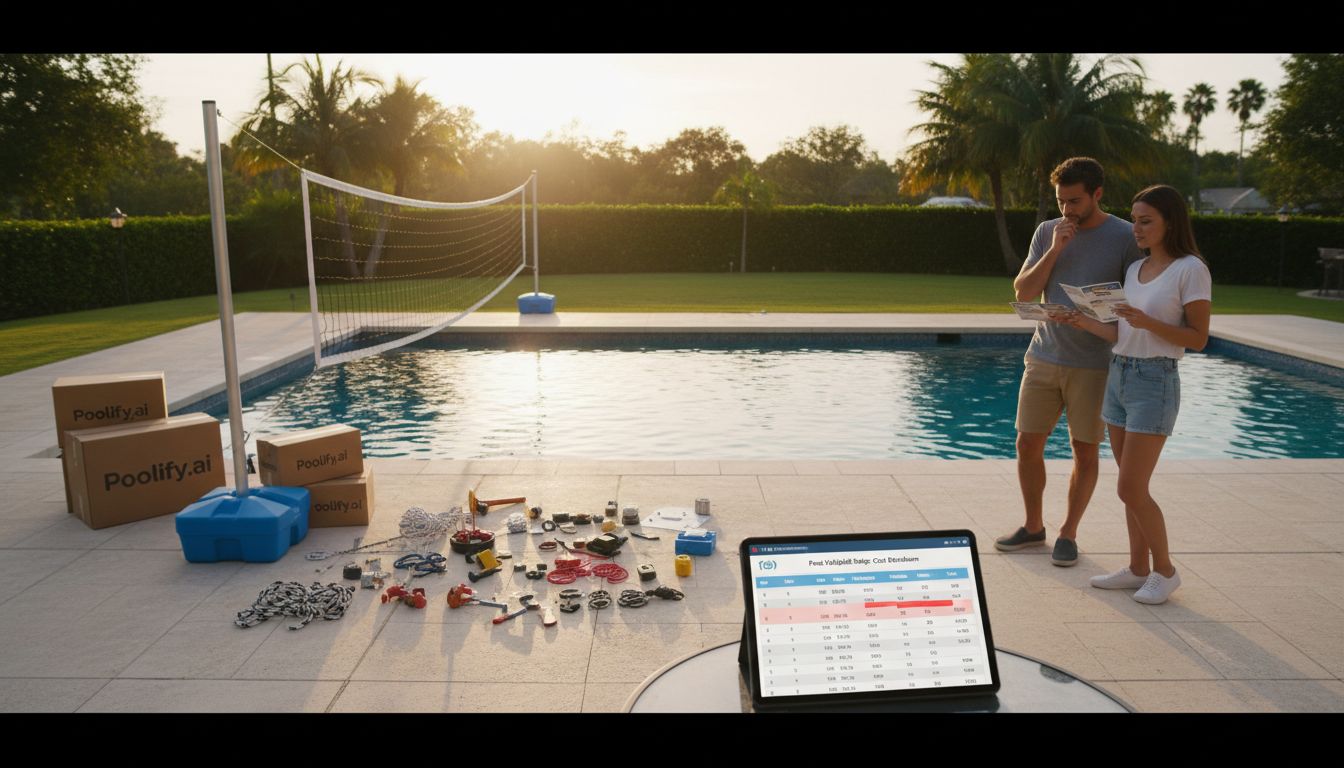
Introduction to Pool Volleyball Net Setup
Setting up a pool volleyball net transforms an ordinary swimming pool into an entertaining sports venue for family and friends. Whether you’re planning casual weekend games or competitive matches, proper pool volleyball net setup ensures safety, durability, and maximum enjoyment. This comprehensive guide walks you through every aspect of pool volleyball net setup, from selecting the right equipment to professional installation techniques that will last for years. Understanding the fundamentals of pool volleyball net setup helps you avoid common mistakes while creating the perfect aquatic sports environment in your backyard.
Understanding Pool Volleyball Net Setup Basics
A successful pool volleyball net setup begins with understanding the essential components and requirements. The standard pool volleyball net setup includes the net itself, support poles or anchors, tensioning systems, and boundary markers. Most residential pools accommodate nets ranging from 24 to 32 feet in width, though custom sizes are available for unique pool dimensions.
The ideal pool volleyball net setup positions the net across the pool’s width at the deepest safe standing depth, typically between 3.5 to 5 feet. This depth allows players to jump and move comfortably without risk of injury. According to the Consumer Product Safety Commission’s pool safety guidelines, proper equipment installation significantly reduces recreational water injuries.
When planning your pool volleyball net setup, consider your pool’s shape and size. Rectangular pools offer the most straightforward pool volleyball net setup options, while kidney-shaped or freeform pools may require creative positioning. The net height for recreational pool volleyball net setup typically measures 7 feet for co-ed play, though competitive standards differ.
Types of Pool Volleyball Net Systems
Permanent pool volleyball net setup systems feature deck-mounted anchors that provide maximum stability and professional appearance. These installations involve securing metal sleeves into the pool deck, allowing you to insert and remove poles as needed. Permanent systems excel for dedicated volleyball enthusiasts who want reliable, long-term pool volleyball net setup solutions.
Portable pool volleyball net setup options offer flexibility for pools serving multiple purposes. These systems use weighted bases, suction cups, or tension-based anchoring that doesn’t require deck modifications. While portable pool volleyball net setup systems provide convenience, they typically offer less stability than permanent installations.
Floating pool volleyball net setup designs work well for above-ground pools or situations where deck mounting isn’t feasible. These systems incorporate buoyant components that keep the net afloat while anchored to pool edges. Floating pool volleyball net setup configurations work best in calm conditions, as wind can affect stability.
Essential Equipment for Pool Volleyball Net Setup
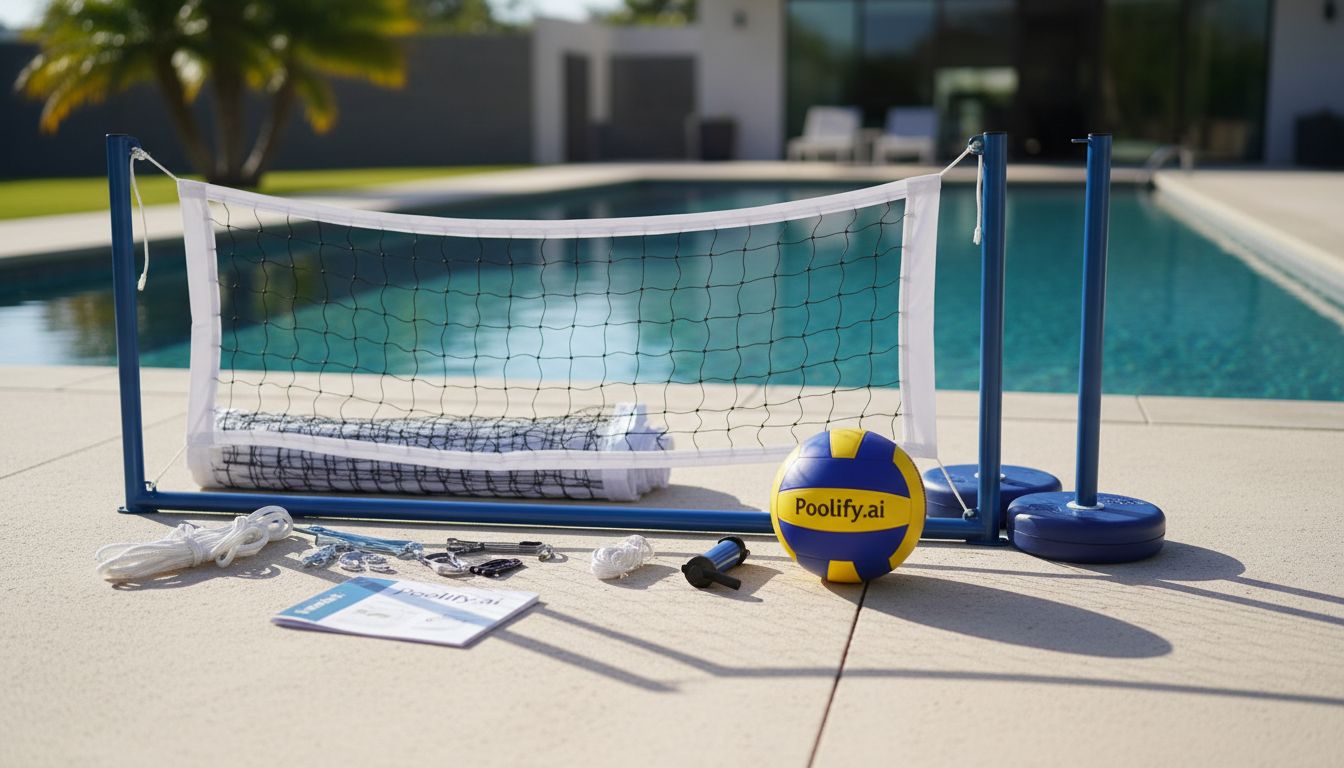
Selecting quality equipment ensures your pool volleyball net setup withstands regular use and weather exposure. The net material should resist chlorine, UV rays, and constant water exposure. Professional-grade pool volleyball net setup equipment uses polyethylene or vinyl-coated nylon that maintains tension and color over multiple seasons.
Support poles represent the backbone of any pool volleyball net setup. Stainless steel or powder-coated aluminum poles offer the best corrosion resistance for aquatic environments. Quality pool volleyball net setup poles feature adjustable height mechanisms, allowing you to customize net elevation for different player groups or game types.
Tensioning systems maintain proper net tautness in your pool volleyball net setup. Cable-and-pulley systems provide superior adjustment capabilities, while ratchet straps offer simpler operation. Proper tension prevents net sagging and ensures consistent ball response during play. Your pool volleyball net setup should include backup tensioning components for quick repairs.
Additional Pool Volleyball Net Setup Accessories
Boundary markers enhance your pool volleyball net setup by clearly defining the playing area. Floating lane lines or colored pool noodles work effectively as temporary boundaries. Some advanced pool volleyball net setup configurations include underwater LED lighting for evening games, creating spectacular visual effects.
Storage solutions protect your pool volleyball net setup equipment during off-seasons or inclement weather. Waterproof bags or deck boxes keep nets, poles, and accessories organized and protected. Proper storage extends the lifespan of your pool volleyball net setup investment significantly.
Step-by-Step Pool Volleyball Net Setup Installation
Beginning your pool volleyball net setup requires careful planning and measurement. Start by determining the optimal net position across your pool. Measure the pool width at your chosen location, ensuring adequate clearance from pool edges. Mark the exact positions where support poles will be installed in your pool volleyball net setup.
For permanent pool volleyball net setup installations, drilling deck anchors requires precision and proper tools. Use a hammer drill with masonry bits sized for your anchor sleeves. Drill to the manufacturer’s specified depth, typically 6 to 8 inches for residential pool volleyball net setup applications. Clean debris from holes before inserting anchor sleeves.
Secure anchor sleeves using marine-grade epoxy or concrete anchoring systems. Allow proper curing time before proceeding with your pool volleyball net setup—typically 24 to 48 hours depending on temperature and humidity. Test anchor stability by applying firm pressure before inserting poles into your pool volleyball net setup.
Installing Support Poles and Net
Insert support poles into anchors or position portable bases for your pool volleyball net setup. Ensure poles stand perfectly vertical using a level—tilted poles compromise net tension and game quality. Tighten all locking mechanisms according to manufacturer specifications for your pool volleyball net setup system.
Attach the net to poles starting from one side of your pool volleyball net setup. Thread the net cable or rope through pole attachment points, maintaining even distribution. Work methodically across the pool volleyball net setup, checking alignment frequently. The net should hang evenly without twists or bunching.
Apply tension gradually to your pool volleyball net setup using the tensioning system. Over-tightening can damage net material or bend support poles, while insufficient tension creates poor playing conditions. The properly tensioned pool volleyball net setup should produce a crisp sound when struck and maintain minimal sag in the center.
Final Adjustments and Safety Checks
Verify net height across the entire pool volleyball net setup using a measuring tape. Standard recreational height measures 7 feet from the water surface to the net’s top edge. Adjust pole height mechanisms as needed to achieve consistent elevation throughout your pool volleyball net setup.
Inspect all connection points in your pool volleyball net setup for security and proper alignment. Tighten loose bolts, verify anchor stability, and ensure tensioning systems operate smoothly. A thorough safety check prevents equipment failure during use and extends your pool volleyball net setup’s operational life.
Test your completed pool volleyball net setup with gentle pressure before allowing vigorous play. Push against the net from various angles, checking for excessive movement or instability. A properly installed pool volleyball net setup should flex slightly under pressure but return immediately to position.
Optimizing Your Pool Volleyball Net Setup for Different Pool Types
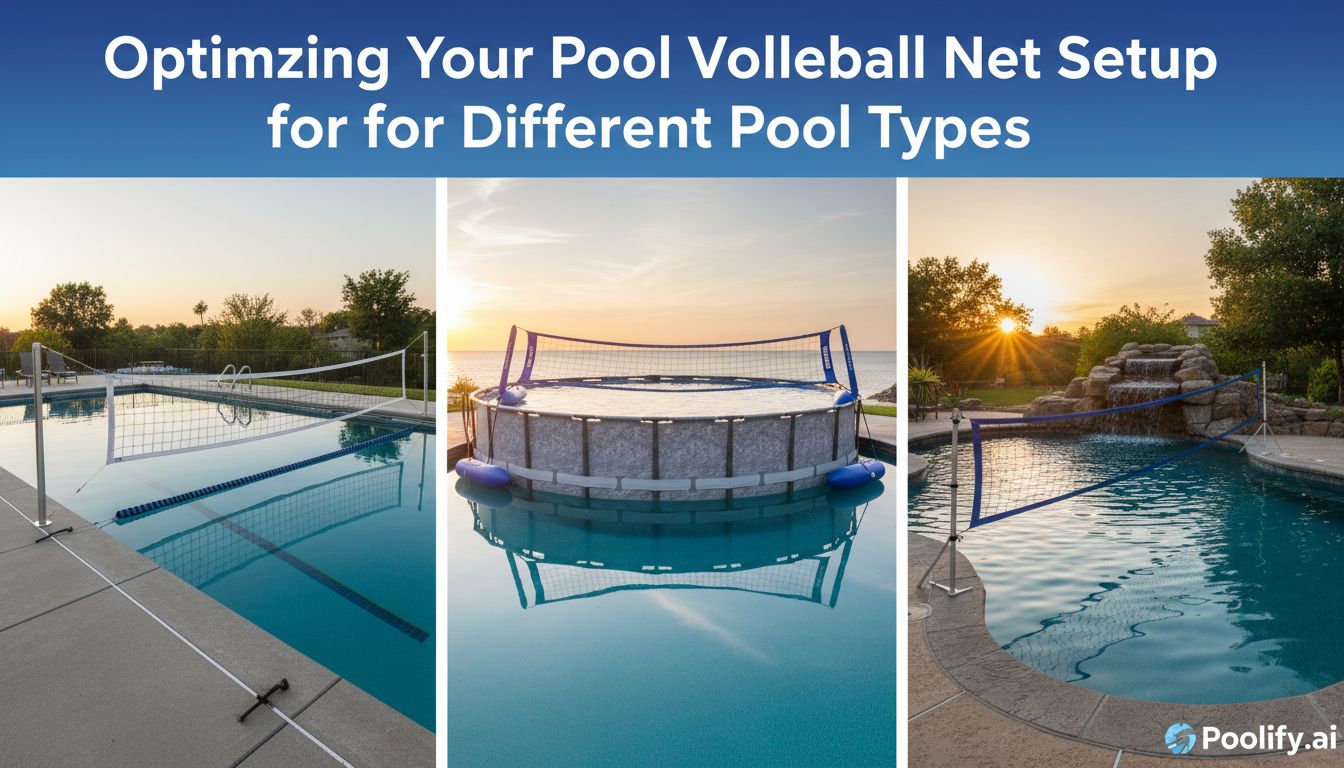
In-ground pool volleyball net setup offers the most installation flexibility and stability options. These pools typically accommodate permanent anchor systems that provide professional-quality playing conditions. The solid deck surrounding in-ground pools simplifies pool volleyball net setup by offering multiple mounting locations and superior weight support.
Above-ground pool volleyball net setup requires specialized approaches due to limited deck space and structural considerations. Portable or tension-based systems work best for above-ground pool volleyball net setup applications. Consider the pool wall’s load-bearing capacity when selecting equipment—excessive pressure can damage above-ground pool structures.
Infinity pool volleyball net setup presents unique challenges due to vanishing edges and specialized construction. These installations often require custom pool volleyball net setup solutions that accommodate the pool’s aesthetic design while maintaining functionality. Consult with pool professionals experienced in luxury pool volleyball net setup for infinity-edge applications.
Adapting Pool Volleyball Net Setup for Pool Shapes
Rectangular pool volleyball net setup follows standard configurations with minimal adaptation. Position the net perpendicular to the pool’s length at the appropriate depth. Rectangular pools provide ideal conditions for competitive pool volleyball net setup that mirrors regulation court dimensions.
Oval and kidney-shaped pool volleyball net setup requires creative positioning to maximize playable area. Identify the widest section with appropriate depth for your pool volleyball net setup. Accept that playing areas may not match standard dimensions—focus on creating enjoyable recreational space rather than competition-ready pool volleyball net setup.
Freeform pool volleyball net setup demands the most customization and flexibility. These pools often benefit from adjustable or portable pool volleyball net setup systems that can be repositioned for different activities. Measure multiple potential locations to find the optimal balance between playing area size and water depth for your pool volleyball net setup.
Pool Volleyball Net Setup Maintenance and Care
Regular maintenance extends your pool volleyball net setup’s lifespan and ensures safe operation. Inspect net material weekly during active use, checking for tears, fraying, or UV damage. Clean your pool volleyball net setup monthly using mild soap and fresh water to remove chlorine residue, sunscreen, and debris that accelerate deterioration.
Support poles in your pool volleyball net setup require periodic inspection and lubrication. Check for corrosion, especially around water line areas and connection points. Apply marine-grade lubricant to adjustment mechanisms and locking systems in your pool volleyball net setup to maintain smooth operation and prevent seizing.
Tensioning systems represent critical components in pool volleyball net setup maintenance routines. Examine cables, ropes, and straps for wear or damage monthly. Replace worn tensioning elements immediately—failure during play can cause injury and damage other pool volleyball net setup components. Keep spare parts on hand for quick repairs.
Seasonal Pool Volleyball Net Setup Care
Winter preparation for pool volleyball net setup in cold climates prevents freeze damage and extends equipment life. Remove portable systems entirely, cleaning and drying all components before storage. For permanent pool volleyball net setup installations, remove nets and poles, leaving only deck anchors in place. Cap anchors to prevent water accumulation and freeze damage.
Spring reinstallation of your pool volleyball net setup provides an excellent opportunity for thorough inspection. Examine all components for winter damage before reassembly. Test tensioning systems and verify anchor integrity before completing your pool volleyball net setup for the new season. Consider professional inspection every few years for permanent installations.
Mid-season pool volleyball net setup maintenance focuses on addressing wear from regular use. Retension nets that have loosened from repeated impacts. Clean and inspect all components monthly during peak use periods. Address minor issues immediately to prevent them from compromising your entire pool volleyball net setup system.
Common Pool Volleyball Net Setup Mistakes to Avoid
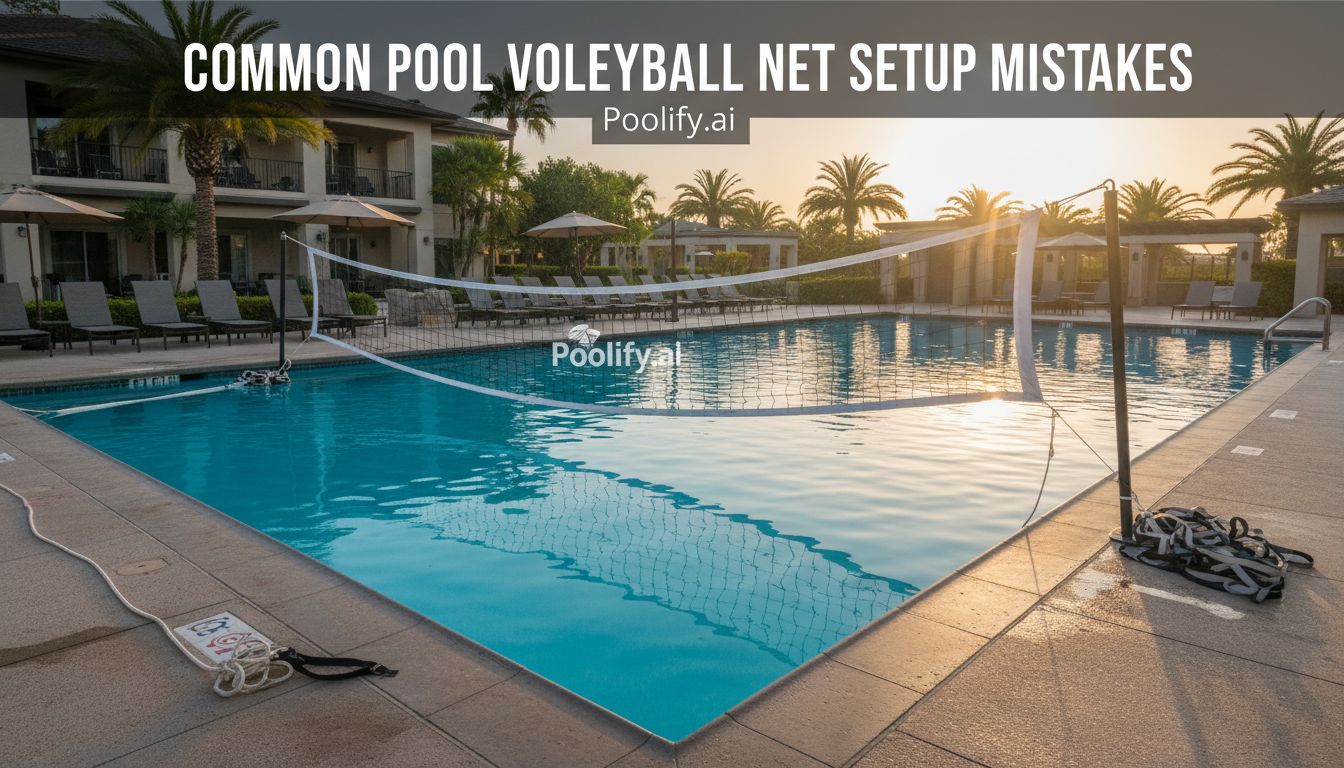
Incorrect net height ranks among the most frequent pool volleyball net setup errors. Many homeowners guess at measurements rather than using proper tools, resulting in uneven or non-standard playing conditions. Always measure your pool volleyball net setup height at multiple points across the net’s span to ensure consistency.
Insufficient tensioning creates frustrating playing conditions and accelerates net wear in your pool volleyball net setup. Loose nets sag excessively, affecting ball trajectory and game quality. However, over-tensioning causes opposite problems—damaged net material and bent support poles. Follow manufacturer guidelines precisely for your pool volleyball net setup tensioning requirements.
Neglecting water depth considerations during pool volleyball net setup leads to safety hazards. Positioning nets in shallow areas increases injury risk from jumping and diving. Verify that your pool volleyball net setup location provides at least 3.5 feet of water depth, preferably 4 to 5 feet for active adult play.
Installation and Equipment Errors
Using inadequate anchoring systems compromises your entire pool volleyball net setup. Undersized anchors or improper installation techniques result in unstable nets that can fail during use. Invest in quality anchoring components and professional installation if you’re uncertain about proper pool volleyball net setup anchor procedures.
Selecting inappropriate materials for your pool volleyball net setup guarantees premature failure. Standard outdoor equipment not designed for aquatic environments deteriorates rapidly from chlorine and constant moisture exposure. Purchase equipment specifically manufactured for pool volleyball net setup applications to ensure durability and safety.
Improper storage practices damage pool volleyball net setup equipment unnecessarily. Leaving nets exposed to winter weather or storing wet components promotes mold growth and material degradation. Always clean, dry, and properly store your pool volleyball net setup equipment during extended non-use periods.
Enhancing Your Pool Volleyball Net Setup Experience
Lighting upgrades transform your pool volleyball net setup into an evening entertainment venue. Underwater LED systems illuminate the playing area while creating dramatic visual effects. Perimeter lighting around your pool volleyball net setup improves visibility and safety during night games. Consider professional pool lighting design for optimal results.
Sound systems enhance the atmosphere around your pool volleyball net setup for parties and tournaments. Waterproof speakers positioned strategically around the pool area provide music and announcements without interfering with gameplay. Bluetooth connectivity allows easy control of your pool volleyball net setup entertainment environment.
Scorekeeping systems add competitive elements to your pool volleyball net setup. Simple waterproof scoreboards mounted on poles or deck areas help players track games. Digital scoring systems with wireless remotes offer advanced features for serious pool volleyball net setup enthusiasts hosting regular tournaments.
Creating Tournament-Ready Pool Volleyball Net Setup
Regulation-compliant pool volleyball net setup requires precise measurements and equipment specifications. Official pool volleyball rules specify net dimensions, height requirements, and playing area boundaries. Research governing body standards if you plan to host sanctioned events using your pool volleyball net setup.
Spectator accommodations enhance tournament-worthy pool volleyball net setup environments. Arrange seating around the pool deck with clear sightlines to the playing area. Provide shade structures for comfort during extended tournament play. Professional pool volleyball net setup for competitions should include referee stands and designated team areas.
Practice features in your pool volleyball net setup help players improve skills between competitive matches. Adjustable net heights allow training at various levels. Target markers and training aids integrated into your pool volleyball net setup create comprehensive development environments for serious players.
Cost Considerations for Pool Volleyball Net Setup
Budget-friendly pool volleyball net setup options start around $100 to $300 for basic portable systems. These entry-level solutions provide recreational play quality without permanent deck modifications. Portable pool volleyball net setup systems work well for occasional use or renters who cannot install permanent equipment.
Mid-range pool volleyball net setup investments typically cost $400 to $800, offering improved durability and stability. These systems often include better materials, adjustable features, and enhanced tensioning mechanisms. Mid-range pool volleyball net setup equipment suits regular users seeking quality without professional-grade expenses.
Professional pool volleyball net setup installations range from $1,000 to $3,000 or more, depending on customization and features. These systems include permanent deck anchors, commercial-grade materials, and professional installation services. High-end pool volleyball net setup investments provide tournament-quality playing conditions and exceptional longevity.
Long-Term Pool Volleyball Net Setup Investment Value
Quality pool volleyball net setup equipment delivers years of entertainment value when properly maintained. Calculate cost-per-use over the expected lifespan to understand true investment value. A $1,500 pool volleyball net setup used regularly for 10 years costs just $150 annually—reasonable for the entertainment provided.
Property value considerations factor into pool volleyball net setup decisions for some homeowners. Well-designed recreational features can enhance home appeal to buyers seeking entertainment-focused properties. However, permanent pool volleyball net setup installations may not appeal to all potential buyers—consider removable systems if selling within a few years.
Maintenance costs for pool volleyball net setup remain relatively low compared to initial investment. Budget $50 to $150 annually for cleaning supplies, replacement parts, and minor repairs. Proper care minimizes these expenses while maximizing your pool volleyball net setup’s operational life. Explore our comprehensive pool maintenance cost guide for additional budgeting insights.
Safety Guidelines for Pool Volleyball Net Setup
Establishing clear safety rules for your pool volleyball net setup prevents injuries and ensures enjoyable play. Prohibit diving near the net and enforce minimum water depth requirements. Post visible safety guidelines near your pool volleyball net setup area, reminding users of proper conduct and game rules.
Regular safety inspections of your pool volleyball net setup identify potential hazards before accidents occur. Check for loose components, damaged net material, and anchor stability before each use. Address any pool volleyball net setup safety concerns immediately—never allow play with compromised equipment.
Supervision requirements depend on player ages and abilities using your pool volleyball net setup. Children should always have adult supervision during pool volleyball activities. Even experienced adult players benefit from having others present during pool volleyball net setup use for emergency response if needed.
Emergency Preparedness Around Pool Volleyball Net Setup
Rescue equipment accessibility remains crucial near any pool volleyball net setup. Keep reaching poles, life rings, and first aid supplies within easy reach of the playing area. Ensure all regular users of your pool volleyball net setup know equipment locations and basic rescue techniques.
Communication systems enhance safety around your pool volleyball net setup during gatherings. Keep charged phones accessible for emergency calls. Consider installing emergency call buttons near the pool area for quick access to help if someone becomes injured during pool volleyball net setup activities.
Weather monitoring protects players using your pool volleyball net setup from lightning and severe conditions. Establish clear policies for suspending play during threatening weather. Lightning poses extreme danger around water—evacuate the pool volleyball net setup area immediately when storms approach.
Frequently Asked Questions About Pool Volleyball Net Setup
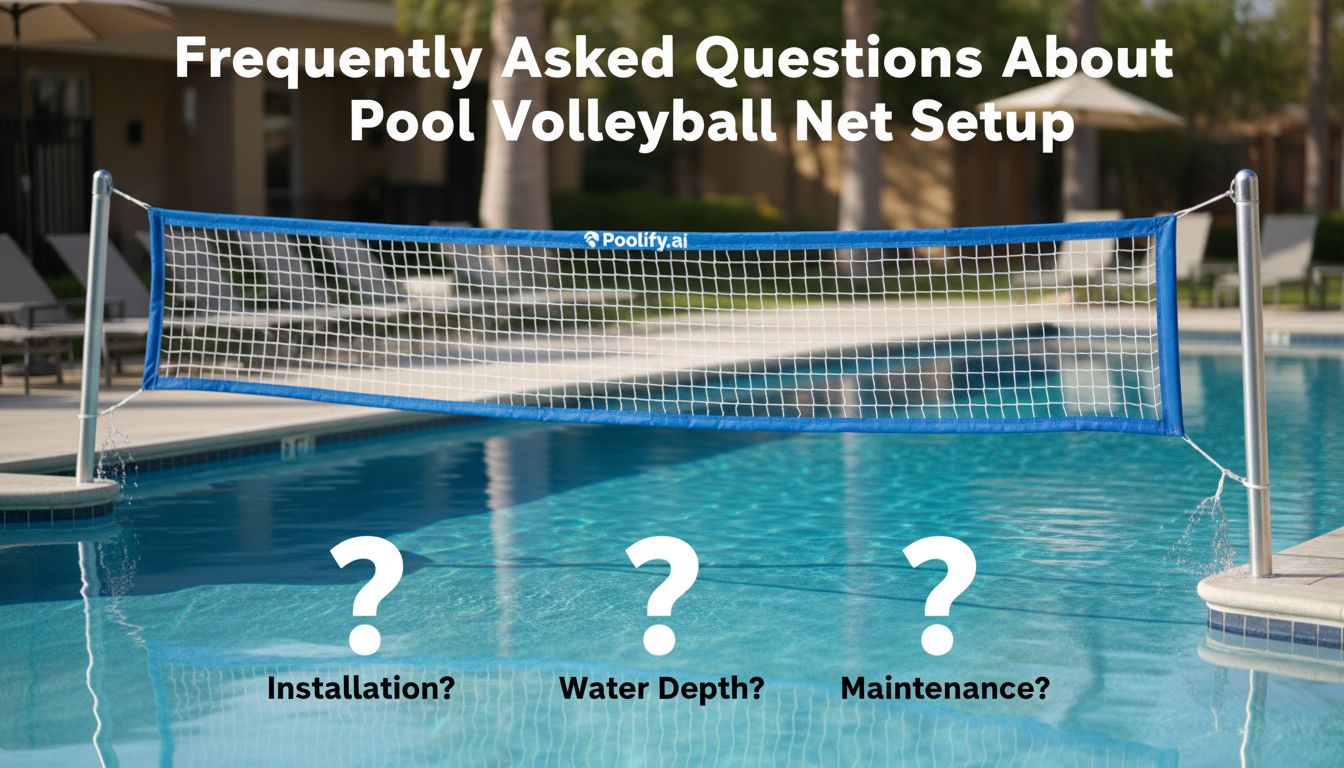
How long does pool volleyball net setup take to complete?
Basic portable pool volleyball net setup typically requires 15 to 30 minutes for experienced users. Permanent pool volleyball net setup installations involving deck anchors take several hours, plus curing time for anchor adhesives. Professional pool volleyball net setup services can complete installations in a single day, including anchor installation and equipment configuration. First-time pool volleyball net setup may take longer as you familiarize yourself with components and adjustment mechanisms.
Can I install pool volleyball net setup myself or should I hire professionals?
Portable pool volleyball net setup systems are designed for DIY installation with basic tools and moderate skill levels. Permanent pool volleyball net setup installations benefit from professional expertise, especially when drilling deck anchors into concrete. Improper anchor installation can damage pool decking and create safety hazards in your pool volleyball net setup. Consider professional installation if you’re uncomfortable with power tools or lack experience with masonry work. The investment in professional pool volleyball net setup installation often pays dividends through superior stability and longevity.
What water depth works best for pool volleyball net setup?
Optimal pool volleyball net setup positioning occurs where water depth measures 4 to 5 feet, allowing players to jump comfortably while maintaining safe footing. Minimum safe depth for active pool volleyball net setup is 3.5 feet, though this limits jumping ability. Avoid pool volleyball net setup in areas deeper than 5 feet unless all players are strong swimmers—excessive depth increases fatigue and safety risks. Adjust your pool volleyball net setup location based on primary user heights and swimming abilities for optimal safety and enjoyment.
How do I prevent my pool volleyball net setup from damaging my pool?
Proper pool volleyball net setup installation techniques prevent pool damage by using appropriate anchoring methods and protective materials. For permanent installations, ensure anchor sleeves are correctly sized and installed according to manufacturer specifications. Portable pool volleyball net setup systems should use padded bases or protective covers where equipment contacts pool surfaces. Avoid dragging pool volleyball net setup components across decking or pool finishes. Regular inspection and maintenance of your pool volleyball net setup prevents loose components from causing damage during use.
Can pool volleyball net setup work in saltwater pools?
Pool volleyball net setup functions effectively in saltwater pools when using corrosion-resistant materials. Select stainless steel or marine-grade aluminum components for your saltwater pool volleyball net setup to prevent accelerated corrosion. Rinse your pool volleyball net setup with fresh water after each use in saltwater environments to remove salt deposits. Increase inspection frequency for saltwater pool volleyball net setup installations, as salt accelerates wear on metal components. Quality equipment designed specifically for marine environments ensures your saltwater pool volleyball net setup provides years of reliable service.
Key Takeaways
- Successful pool volleyball net setup requires careful planning, proper equipment selection, and precise installation techniques that ensure safety and durability for years of enjoyment.
- Choose between permanent, portable, or floating pool volleyball net setup systems based on your pool type, usage frequency, and budget considerations, with permanent installations offering maximum stability.
- Proper pool volleyball net setup positioning at 4 to 5 feet water depth provides optimal playing conditions while maintaining safety for jumps and active gameplay.
- Regular maintenance of your pool volleyball net setup, including cleaning, tension adjustments, and component inspections, extends equipment life and prevents safety hazards.
- Invest in quality, corrosion-resistant materials specifically designed for aquatic environments to ensure your pool volleyball net setup withstands chlorine exposure, UV rays, and constant moisture.
Conclusion
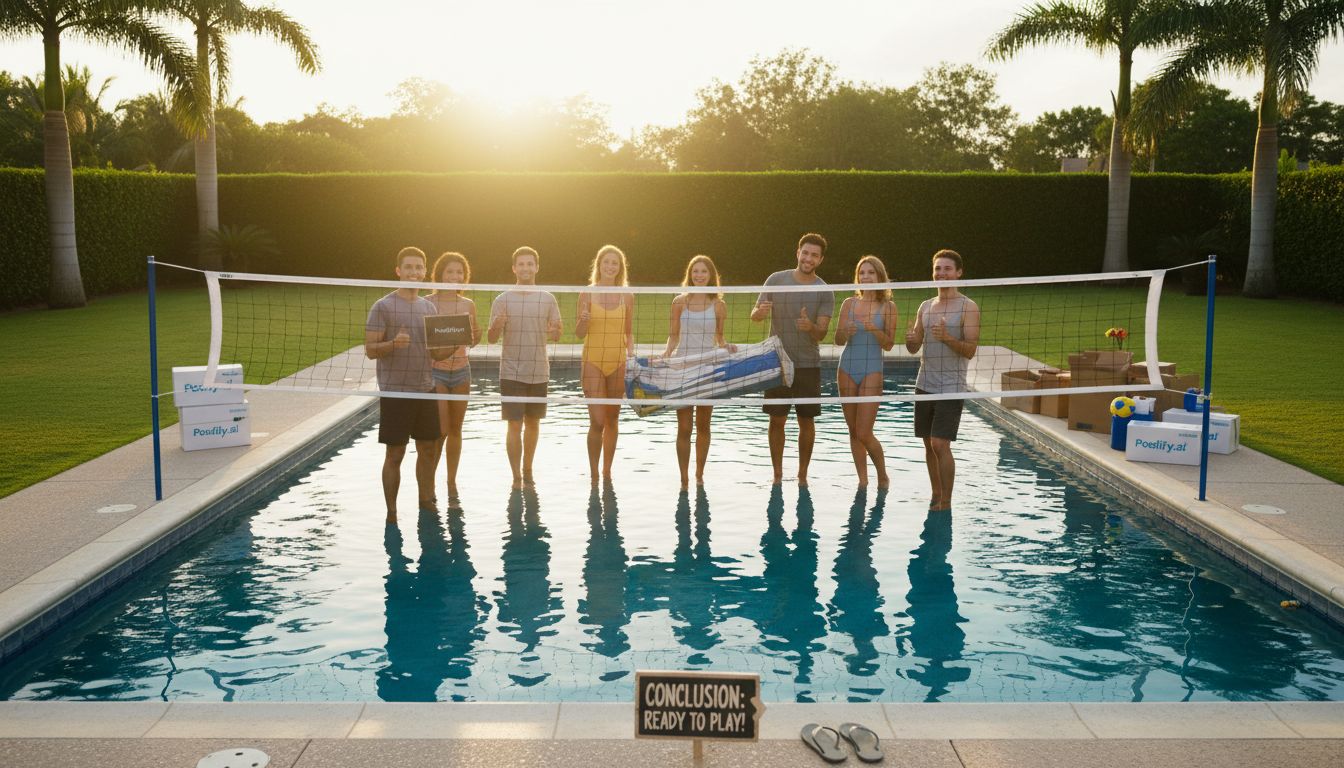
Mastering pool volleyball net setup transforms your backyard pool into a dynamic recreational space that brings family and friends together for active entertainment. By following proper installation procedures, selecting appropriate equipment, and maintaining your system diligently, you create a safe and enjoyable playing environment that lasts for many seasons. Whether you choose a simple portable system or invest in professional-grade permanent installation, understanding the fundamentals of pool volleyball net setup ensures optimal results.
The key to successful pool volleyball net setup lies in balancing functionality, safety, and budget considerations while adapting to your specific pool characteristics. Take time to plan your installation carefully, invest in quality materials, and establish regular maintenance routines. With proper care and attention, your pool volleyball net setup becomes a valued feature that enhances your pool’s versatility and provides countless hours of active recreation. Start planning your pool volleyball net setup today and discover how this simple addition can revolutionize your backyard pool experience throughout 2026 and beyond.
References
Consumer Product Safety Commission. “Pool Safely: Simple Steps Save Lives.” CPSC.gov, https://www.cpsc.gov/Safety-Education/Safety-Education-Centers/Pool-Safely
Poolify.ai. “Pool Lighting Design Guide.” https://content.poolify.ai/pool-lighting-design/
Poolify.ai. “Pool Maintenance Costs: Complete Budget Guide.” https://content.poolify.ai/pool-maintenance-costs/